
Introduction
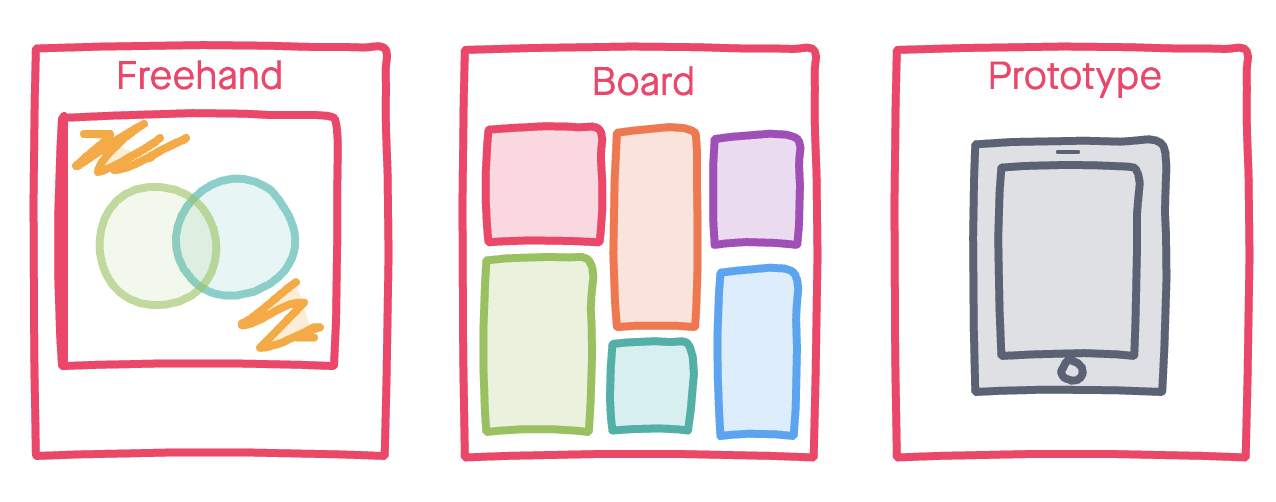
InVision is a platform that consolidates tools to enhance brainstorming, prototyping, and designing digital products [1]. Users develop “interactive mockups” [2], which can be shared with collaborators. From reading instruction manuals and various blogs about some of InVision’s functionalities and testing out the features in my own account, I have found that regardless of where you are in your design process, InVision provides tools that can be utilized at every step of the way. While there are many prototyping software with different strengths, I hope this post will help provide an introduction to some of the incredible resources InVision offers. In the following sections, I will be discussing three main resources that I explored in InVision: Freehand, Board, and Prototype.
Source: Screenshot from [7]
Freehand
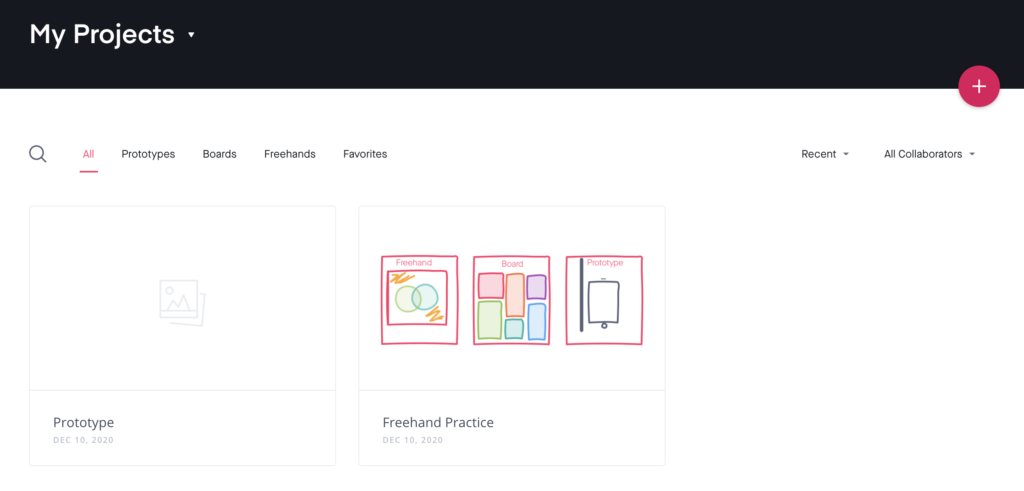
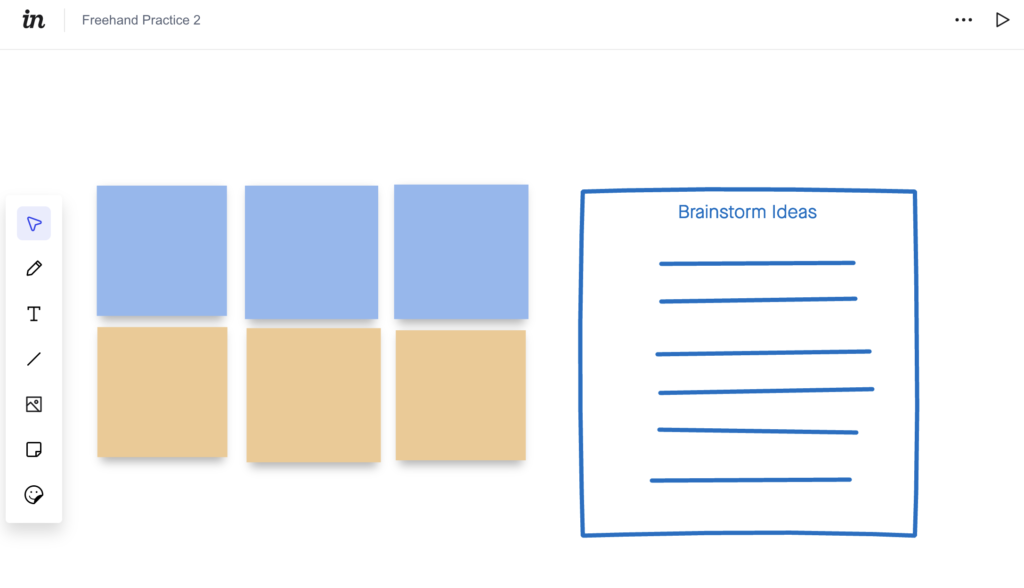
Freehand operates as an “endless whiteboard” [3] that facilitates collaboration, particularly in planning, brainstorming, and wireframing [3]. To create a new document, click on the “+” button at the top right corner of the “My Projects” page (Figure 1 above), which you are directed to after logging in. Selecting the “Freehand” option will take you to a page where you can name your project, followed by a page filled with templates separated into four main categories: “Brainstorming,” “Wireframes and flowcharts,” “Effective meetings,” and “Strategy and Planning”. Within these categories, you can find an array of templates for creating affinity diagrams, journey maps, flowcharts, and persona profiles to name a few. There is also a blank canvas option if you would prefer to start from scratch. The left side vertical toolbar (Figure 2 below) contains several tools described below.
Source: Screenshot from [7]
The Pencil icon is one of the features I found most unique, as it allows you to freehand as if you were in front of a physical whiteboard. You can change the thickness, opacity, and color of the marker. Additionally, holding down the option key while using this tool to draw shapes makes it look nearly perfect [3]. This tool can be used to markup prototypes and provide feedback. If you prefer typing over freehand, the Text icon allows for typing text. The Shapes icon is used to build simple shapes like circles, squares, and lines. This differs from the pencil icon, which can be used to draw more abstract shapes.
The Image icon provides the opportunity to utilize creative tools from other platforms; InVision allows you to upload files from your own computer, and provides a plugin called Craft to sync designs crafted in Photoshop or Sketch.
Freehand includes features like Sticky Note and Reactions to further provide feedback. The Sticky Note icon can create virtual sticky notes, which can be used for tasks like affinity diagraming to jotting down notes. The sticky notes can also be used to give or receive feedback. Finally, by clicking on the Reaction icon and then a specific area on the board, you can share with collaborators how you feel about certain ideas. While the sticky notes, text, or pencil tools can provide detailed feedback, these emoji reactions can be a fun way to show support.
Why Use Freehand?
A hybrid between the physical and digital space, Freehand strikes a special balance, providing features that mirror writing on a whiteboard and digital tools to supplement that process [3]. While constraints may arise during in-person meetings, where one person is in charge of scribing, Freehand gives team members equal access to contribute at any time [4]. Not to mention, Freehand consists of an infinite zoom, providing space to brainstorm as much as the team would like [4]. Freehand can also help you plan the transformation from low fidelity to high fidelity prototypes, as team members collaboratively build their vision and show how ideas interact [3].
Board
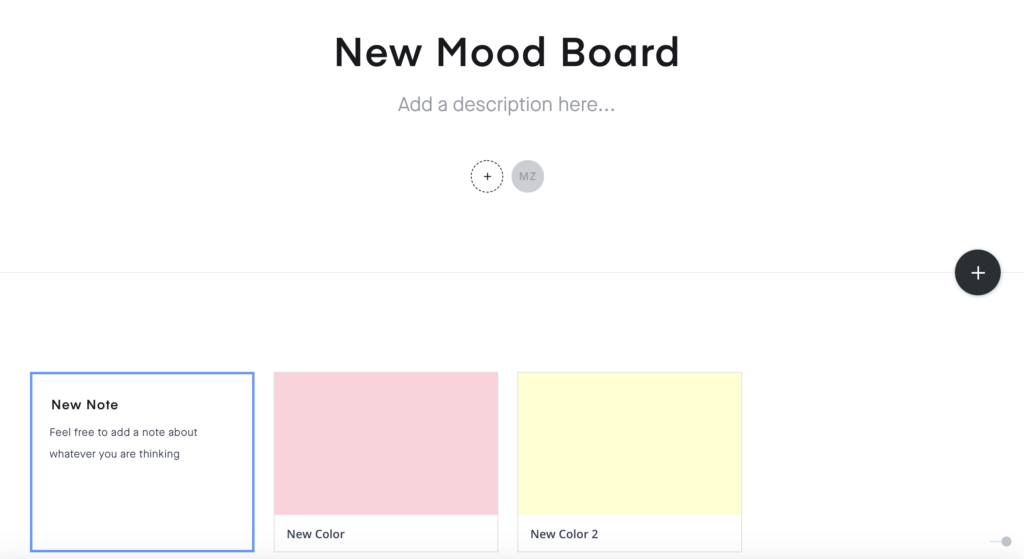
Source: Screenshot [7]
The InVision Board is a great place to build mood boards, collections, and even compile pieces to frame aesthetics. Clicking the “+” button on the “My Projects” page (Figure 1 above) will bring you to the choice of creating a new board, followed by a screen with three layout options: “Masonry” (original image proportions), “Meticulous” (abstract rows and normal columns) and “Grid” (normal rows and columns) [5] (Figure 4 below).
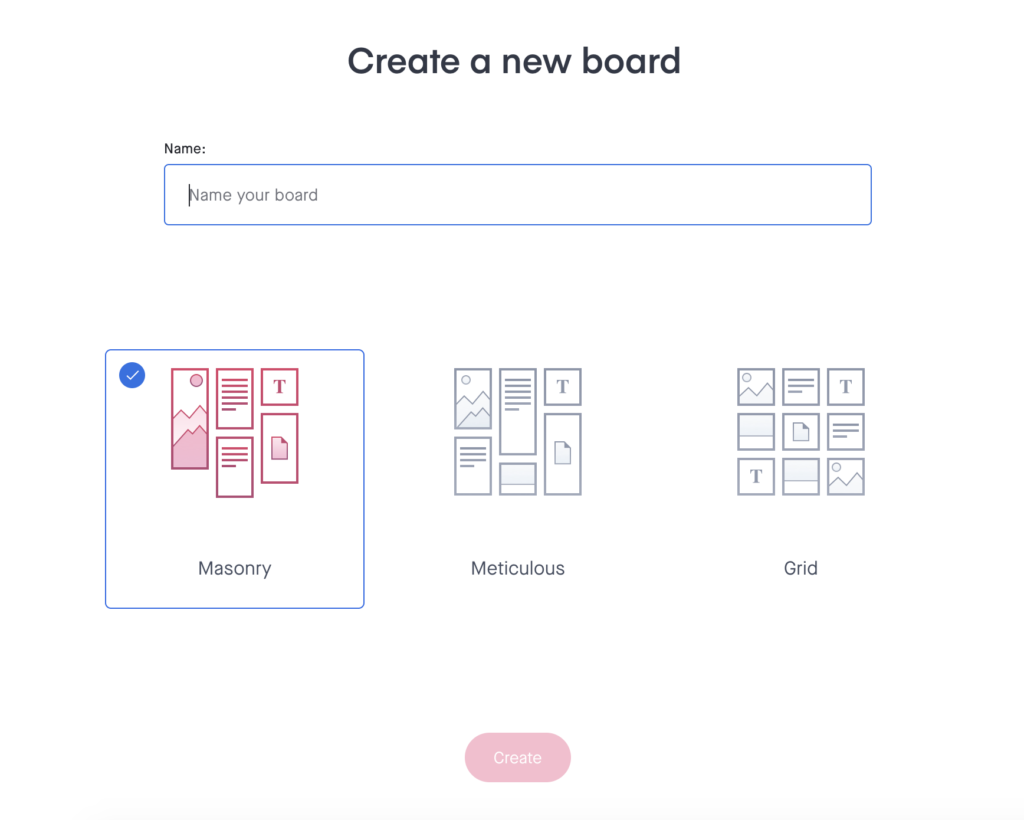
Source: Screenshot from [7]
The Board is fairly self-explanatory, as you can drag and drop or browse and upload files onto your board (Figure 3 above). To create new sections, click the “+” button near the bottom, which says “Create New Section Title” when hovered over. There is also a “+” button at the top right corner of each section, which you can click to access features like adding new notes or color swatches.
Board also includes settings to monitor and enhance collaboration. The Setting tool provides an added layer of security, as you can control what content (images, fonts, or source files) can be downloaded by others, which may be useful for both licensing and security purposes [5]. Another unique feature is the ability to password-protect your board, which will prompt others for the password you can custom set. The link to share your board is randomly generated, which ensures that “unwanted visitors can’t stumble upon your board” [5].
Why Use Board?
Through Board, designers can create cohesive collections, gather ideas for inspiration, and present their visions. I found it easy to navigate, which saves the time of figuring out how complicated software works. It also supports team efforts, as collaborators can leave comments for one another, either on the board as a whole or on specific pieces (i.e. even something as specific as a color swatch).
Prototype
Source: Screenshot from [7]
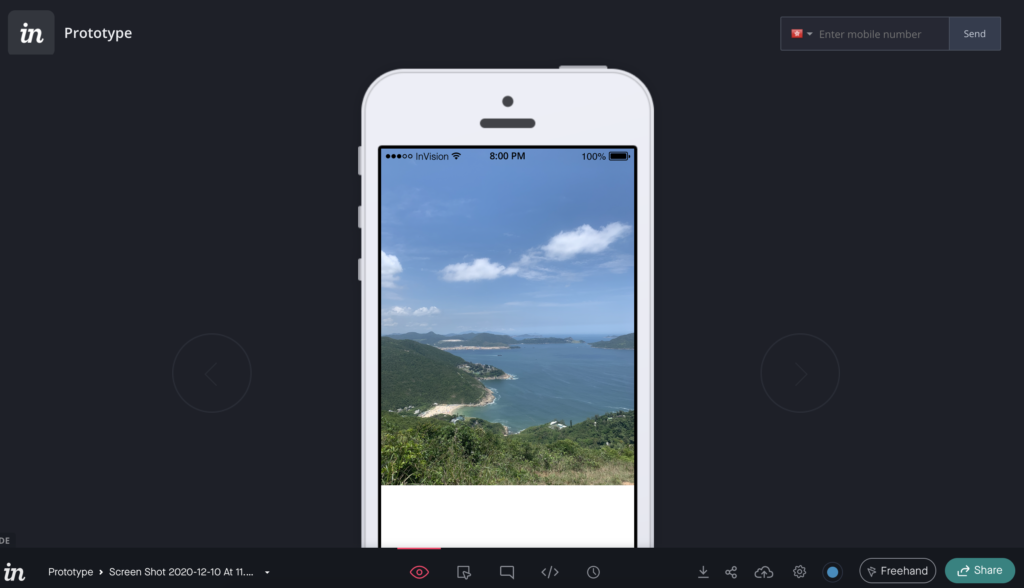
Prototype allows for the creation of clickable prototypes, which is essentially a mockup of what your developed design may look like, modeled on your intended device [6] (Figure 5 above). Prototyping is necessary as it simulates what future products might behave like, reveals usability issues, and can help designers identify absent or redundant components they may not have noticed [6]. Ensuring a product behaves without any major hiccups before it is fully implemented can save time and cost resources [6].
Prototype provides digital tools to develop these user interfaces. After logging in, you can navigate to the “+” button to create a new prototype. This will lead to a page where you can select the device you would like to prototype your design on, with options like Desktop, iPhone, Android, iPad, or Apple Watch. Similar to the feature in Freehand, you can sync your designs from Photoshop and Sketch or upload files directly. While there is a wide variety of functionalities in Prototype, I will discuss some features I found useful and specific to InVision.
Source: Screenshot from [7]
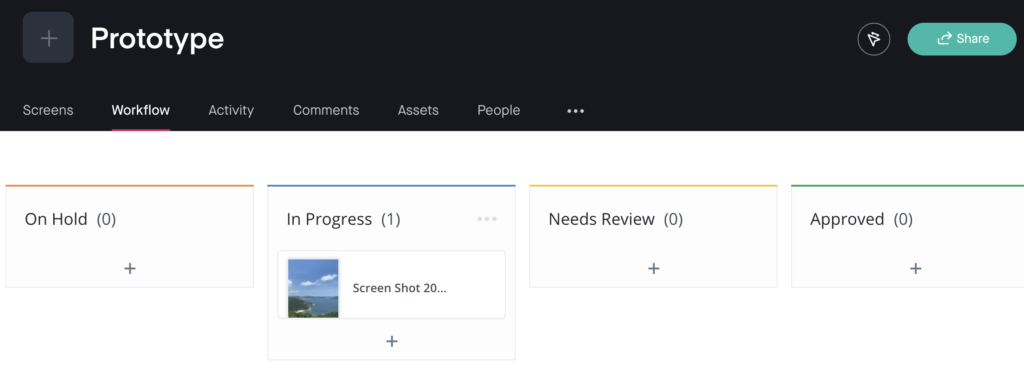
The Workflow tab (Figure 6 above), which you can navigate to from the main Prototype page, has features that help with organization and support collaboration. You can drag and drop the screens you uploaded into one of four columns labeled “Hold”, “In Progress”, “Needs Review”, and “Approved” depending on what stage of the design process you are at for each screen. InVision further supports collaboration by allowing you to click on individual screens to access a pop-up window where you can assign tasks to others. You can also add a description and write a checklist of tasks that collaborators can do.
Other tabs you can navigate to include Screens, Activity, Comments, People, and Assets. On the Screens tab, you can either view all the screens you uploaded or the screens within the categories sorted in the Workflow tab. The Activity tab allows you to track any changes made and in the Comments tab, you can engage in conversation with team members, who you can add in the People tab. Files and folders you generate are stored in the Assets tab.
The primary tools for prototyping can be found under the Screens tab. You can click on specific screens to enlarge and access a horizontal toolbar, which you can use to specify interactions between screens. I will discuss some of the features of this toolbar below.
Preview mode allows you to click around your prototype after you have specified the transitions between screens in Build Mode. This gives you the opportunity to see what your final product may look and behave like. Build mode is used to create interactions between uploaded screens. By clicking and dragging your cursor over certain spots on your prototype, you can create clickable hotspots. This will direct you to a pop-up menu that prompts you to select the destination or screen you would navigate to. You can set your prototype to navigate to other screens, other points on the same screen, and even external URLs.
Comment mode is helpful if you want to leave comments on specific buttons or sections of your prototype. You can customize your comments by categorizing them as a “Comment”, “Private Comment”, “Note”, or “Tour Point”, which will appear color-coded. You can also add collaborators to the comments directly and react with emojis. Another unique feature is the ability to open your prototype in Freehand, where you can annotate over your designs with the pencil tool or draw transitions you can easily erase and correct.
Why Use Prototype?
InVision’s Prototype is user friendly, which is important as everyone involved in the design process, which may extend to clients who are not familiar with this software, can engage with it [6]. It supports design across a multitude of devices, so whether you are designing for an iPhone or an iPad, you have the option to display it on the device your product is for [6]. Prototype allows you to start prototyping at any point; you can “start effective testing from the very first groups of screens to see how they provide the logic of the layout and transitions” [6]. Having effective prototyping software can help you optimize your designs before implementation.
Main Takeaways
InVision equips users with the tools required to take an idea and carry it through the design process while supporting collaboration. The digital whiteboard that Freehand offers can be utilized during planning and brainstorming. Board offers a space to compile ideas, build aesthetics, and present visions. In Prototype, designers can take their ideas to the next level by creating interactive, clickable prototypes that mirror what the final product could potentially look like. As a first-time user, I found it user friendly and easy to learn, and I will definitely be using it in future design projects. It is important to keep in mind that there are many exciting design tools out there, and while this post is about InVision (and has only scratched the surface of all its functionalities), I would encourage you to explore other tools as well to find the one that is optimal for your design project.
Works Cited
[1] “About,” InVision. https://www.invisionapp.com/about (accessed Dec. 07, 2020).
[2] J. Wells, “7 Reasons Why I Use InVision Rapid Prototyping,” medium, Feb. 14, 2014. https://medium.com/@mrjeremywells/7-reasons-why-i-use-invision-for-rapid-prototyping-ed1c33d5b86 (accessed Dec. 07, 2020).
[3] W. Fanguy, “How we use Freehand at InVision,” Inside Design, Jun. 19, 2018. https://www.invisionapp.com/inside-design/use-freehand-invision/ (accessed Dec. 05, 2020).
[4] J. Crook, “InVision adds new features to Freehand, a virtual whiteboard tool, as user demand surges,” TechCrunch, Jun. 11, 2020.
[5] J. Holloway, “Working with Boards,” InVision Support, May 22, 2019. https://support.invisionapp.com/hc/en-us/articles/205249269 (accessed Dec. 06, 2020).
[6] M. Yalanska, “Design Tool Review. Prototyping with InVision,” tubik blog. https://blog.tubikstudio.com/design-tool-review-prototyping-with-invision/ (accessed Dec. 06, 2020).
[7] InVision. InVision, 2011. [Online]. Available: https://projects.invisionapp.com/.
Featured Image designed in [7]