A README is an essential part of any good code project. It is a file that acts as a guide for users to obtain a detailed description of a project in a repository, typically on GitHub. The purpose of having a README is widespread, but two main points include: 1) so that future users are knowledgeable about the facets of it, and that the directions are clear enough that they can duplicate the results intended, and 2) to help current users focus on project goals and objectives to make sure that it operates as intended. Without a README, it can be difficult to understand the purpose of a project, and thus make it less appealing for outside users, and confusing for the people who work on it. Additionally, with thousands of projects populating GitHub, a README is a change to make your project stand out in open-source software. [2]
A good way of testing the usefulness of a README is to have a friend or third party observer follow the instructions and see if they can obtain the right environment and results. If they are able to understand the project goals and recreate results, that is how you know your README is effective.
There are many different ways to write a README, but I will go over key points and topics that make some of the best practices for such a task. Depending on the type of project and individual needs, the contents of your README may vary. Some things to consider before writing your README is who is your audience? This can help answer the question of whether you want an instructional README, best for contributors who need to understand the project deeply in order to work on it, a promotional README, best for employers and making your project stand out, or a user-friendly README, best for any user who may want to play or test your program. [2] Regardless, here are some key points to consider when constructing your README.
1. Title of Project
The title of the project lets others know what this project is about, and the main goal. Written in just a sentence, it is the opener for what you are going to be talking about.
2. (Optional) Table of Contents for a long README
README’s are best when they are readable and organized. If your contents start getting too long, it may be wise to add a Table of Contents section. It should simply contain an ordered list of all the points you will cover, and if you wish, a jump-to option for each section. [3]
3. Description of Project
The description is a crucial aspect of your project. It should model the purpose of your project to other developers and users in a few distinct sentences. A good description includes:
- What your program does,
- Why you used the technologies you used,
- The challenges you faced and future implementations you hope to pursue
Provided with the description, developers and/or users can get a good understanding of the purpose of your project, and where it will potentially lead to in the future [3].
4. Motivation
Building off the description provided in the prior part, this is a short explanation of the motivation for creating and maintaining this project. It should explain why this project exists. This can be a great area to boost your project if the audience you have in mind is an employer, or you wish to be an enticing option for a regular user.
5. Features
This section is about what makes your project stand out. Did you use special frameworks to run the application? Is it novel in its idea or implementation? [2] If you are writing this README with the intent of showing to employers, this is a great place to note your accomplishments.
6. Environment Set Up
Environment set up is important because contributors to the project should be assisted with the proper tools to run your programs and recreate results. Especially in the line of research, where other researchers will be using your program in-depth, this is a feature to continuously update and keep maintained. This is the section that aids users if they face any problems, and serves as a reference. [2] It should include packages that were installed, libraries, or frameworks that are needed to make this project run successfully.
7. How to Run Program(s)
As a continuation of the environment set up, how to run the program serves as specific instructions regarding the delivery of the program. You can include screenshots here to show examples of running code. Another option may be to write out the commands that are needed to run the program. This is a good portion to include if your project is confusing or has many steps involved in order to run it.
8. Directory Mapping
If a README is tailored for contributors, directory mapping is a helpful way of guiding them to understanding the project in depth. Knowing how the directory is structured, and what part of the program runs what is very crucial if someone is to take on that project. You can include a Tree mapping in order to display this information succinctly.
9. Contents of Files
Again, if the purpose of your README is to cater to contributors, this is a helpful section to have. Describing briefly the contents of the files in the project makes it easier for future contributors to know where to look for certain information or pieces of the program.
10. Related Work/Credit
Regardless of the purpose or audience of the project, it is very helpful to give credit to those who helped create this project and give inspiration. Related work and/or Credits can account for this, so that readers can also look at these sources for more information and credit is given to the appropriate people.
Main Takeaways
Finally, we will look at an example of projects that differ in terms of READMEs. Compare the two projects below, one with a proper README and one without.
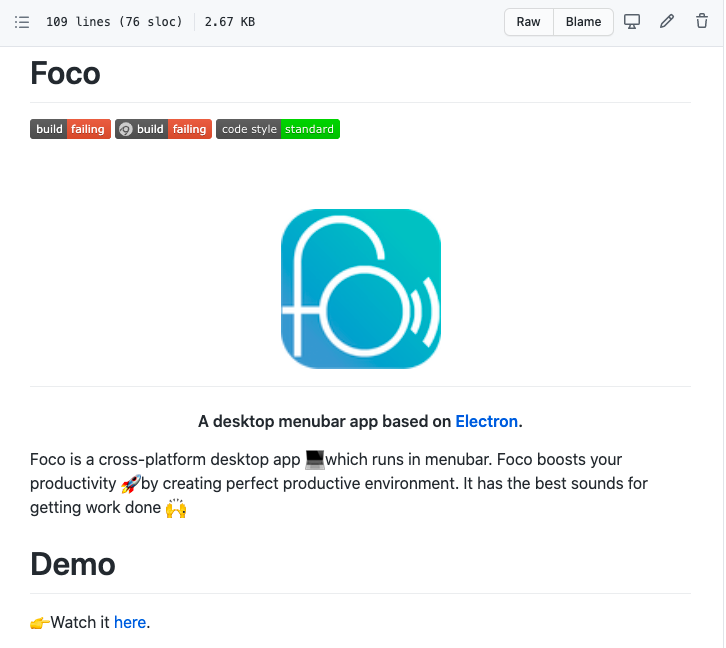
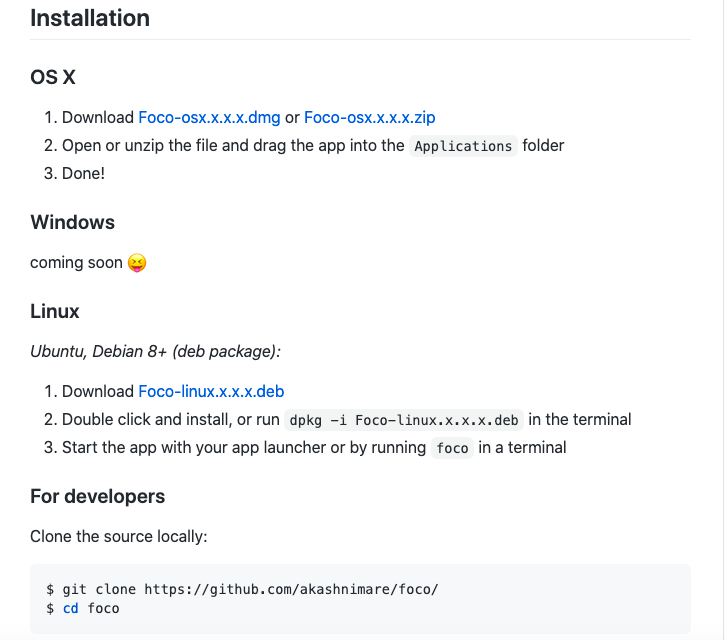
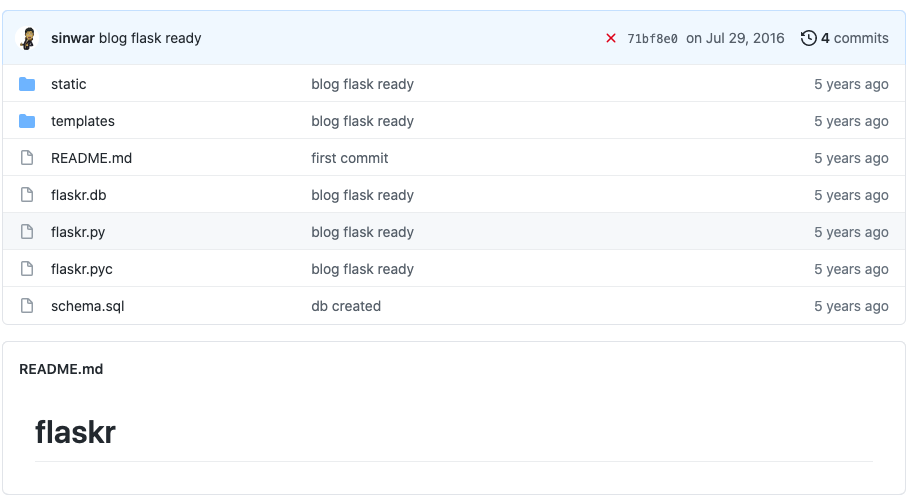
The first one is a snippet of a detailed and thorough README, one with proper guidance and explanation. [4] It is clear what the purpose of the program is, and the reader can recreate results. However, for the second it is completely unknown what the project is about, and it could be potentially frustrating to figure out its purpose. [5]
A good README engages its users with the project, and helps users understand why the project is useful. Without a README, it is difficult to follow along and makes your project get lost in the sea of thousands and thousands of GitHub projects. With these tools in mind, happy coding!
Works Cited
[1] GitHub Logo Artwork. [Online]. Available: https://portswigger.net/daily-swig/open-source-tool-for-bug-hunters-searches-for-leaked-secrets-in-github-commits
[2] A. Nimare, “A Beginners Guide to writing a Kickass README,” Medium. https://meakaakka.medium.com/a-beginners-guide-to-writing-a-kickass-readme-7ac01da88ab3
[3] H. Nyakundi, “How to Write a Good README File for Your GitHub Project.” https://www.freecodecamp.org/news/how-to-write-a-good-readme-file/
[4] A. Nimare, “GitHub: Foco.” https://github.com/akashnimare/foco/blob/master/readme.md
[5] Sinwar, “GitHub: Flaskr.” https://github.com/sinwar/flaskr
